


My steps:
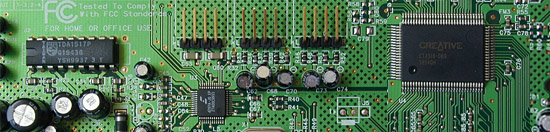
- Open your image in PS
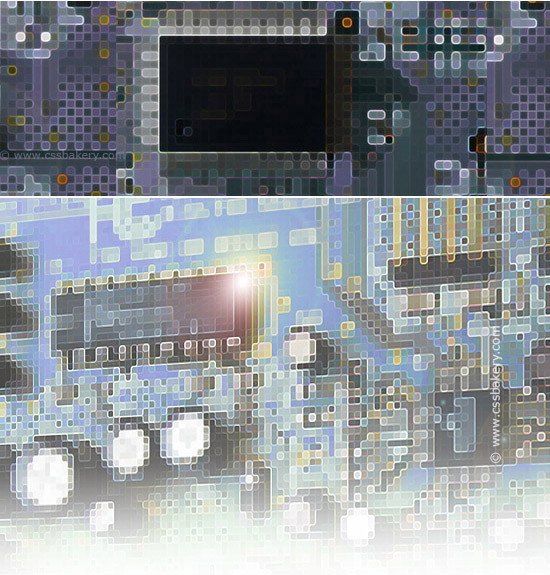
- From Filter > Pixelate > Mosaic menu option, Choose the cell size that retains important details in your image. I chose 11 cells for one file, and 16 for another.
- From Filter > Noise menu option, Choose the Median that rounds off the square pixelated edges. Two (2) worked for me. 4 was also Ok.
- Duplicate this layer and name it, "Outline".
- Change the blending mode of the new layer, "Outline" to screen.
- Filter > Stylize > Find Edges menu option will outline the edges of our image.
- When you are done with the outline, select Image > Adjustments > Invert.
- You have an outline and a base layer. You can duplicate and overlay the layers together to increase contrast. In this step, I lowered the opacity of my top layer to get a softer effect.
- My palette is earth tones and blues so I want to make the green circuit board blue. Choose Selective Color to change the greens. You'll tweak with this menu option until you tone down the green. Some green will still be left behind. Not to worry, we'll take care of it during the next step.
- From Image > Adjustments > Replace Color, I sampled the light green left over on the upper side and substituted light blue.
- Filter > Render > Lens Flare, choose the size (Mine was kept small at 50) for your flare. If the flare is kept at a smaller size then you don't get the halo effect.
- The last section of the picture shows a perspective cut. To do this, go into Transform > Perspective and experiment. Try a left or right perspective by pulling one of the top edges up and out. If you want text on your graphic be sure to collapse it on your base layer before the perspective work so everything gets transformed the same amount and angle.
- In the following images, after the transformation you can still tell the difference between a surface mounted and soldered chip and see capacitors, connectors, and processor chips.


Post a Comment
Note: Only a member of this blog may post a comment.