


For anyone who is curious about the graphics, converting my original blue graphics to the new color was very easy in Adobe Photoshop. I did not have the patience to redo the image in a new color set so I stacked a color balance adjustment layer over all the blue parts and used the same numbers for everything including the arrow button. My adjustment layer numbers were (64,-64, -64).
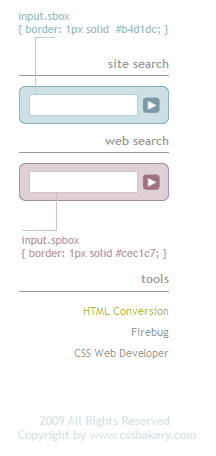
I used the same code for the new box with one exception. Notice the input area is bordered by a color that is close to the predominant background color but slightly different to give the graphics more depth. As you can see below, I did this through two selectors, input.sbox and input.spbox by setting them to the hex color combination I want.


Post a Comment
Note: Only a member of this blog may post a comment.