


STEP 1 Draw a rounded rectangle with a 10 pixel radius that will include the parts of the image you'd like.
The color for the rectangle does not matter, the tool will pick up your foreground color which is fine. You do not have to create a new layer, the tool automatically creates a layer for the rectangle alone. If you think the rectangle is not positioned right, you can always move it around using the move tool (arrow symbol in the toolbox in the upper right corner).
In STEP 2 go over to the rectangle in the layer palette and right click on it and choose "Blending options" from the pop-up menu. In Blending Options, pull down the "Fill Opacity" slider to zero. Press OK and exit.
For STEP 3 Go to "Paths" tab. If you don't see it on screen, click on "Window" and choose "Paths". From the arrow pull down menu (on the upper right edge of the little paths window), choose "Make Selection". Make sure "Feather Radius" is set zero, and "Anti-aliased" option are checked. When you press OK, your selection is now going to turn into "walking ants".
Go to Edit and choose "Copy Merged" in STEP 4.
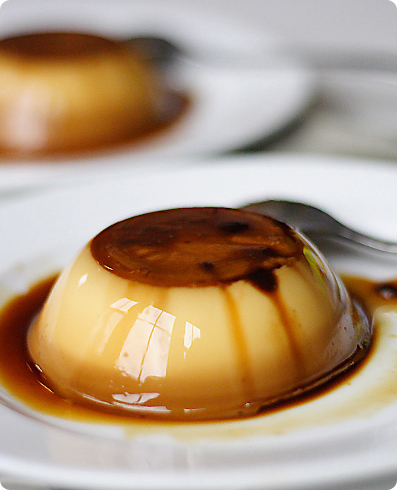
STEP 5 Create a new document (Ctrl N), keep the dimensions Adobe gives you, and Edit Paste (Ctrl V). Picture Credit: Reprinted with permission from Rasa Malaysia


Post a Comment
Note: Only a member of this blog may post a comment.